Friday, May 13, 2016

Happy Wishes

Hi there! I'm up on the Ink Road Blog today with a fun critter card for you today. Let's have a look at the card.
I made this card especially for one of our Ink Road Roadies who is graduating from college, we are so proud of her! Let's hope she likes it. Let's see how it's made. 
The card panel was die cut using the Avery Elle Wonky Stitches die. I used some Sea Glass ink from Simon Says Stamp and the Doodle Background stamp from Pinkfresh Studio. I used some Distress Ink in Tumbled Glass and my blending tool to add more color to give the panel the look of an outdoor sky.
I made some cute bushes from some patterned paper from Lil' Inker Designs. I die cut the paper using the same Avery Elle Wonky Stitches die and the versatile Puffy Cloud Borders dies from Lawn Fawn to make the bushes. 
The cute critters are from the Avery Elle Woodland Wonders stamp set. I stamped them in Memento Tuxedo Black ink and colored them with Copic markers. I die cut the critters, banner and tree with the Avery Elle Woodland Wonders die set. I had to share that the die set came with this cute stitched loop, it's so adorable! I adhered the tree to the card panel and used some foam tape behind the critters to give them some dimension. 

Here is a quick list of products used for the card:
Pinkfresh Studio, Doodle Background stamp
Avery Elle, Woodland Wonders die set

These lovely products are available at The Ink Road Shop.  Be sure to punch in the code MONICA10 to save 10% off your next order. Use anytime, as many times as you would like. Thanks so much for visiting today. I'll see you soon. 

Friday, May 6, 2016

Thinking of You

Hello there! I'm up on the Ink Road Blog again with this extra special card just in time for Mother's Day. Let's take a look at the card. 
I started with a 5 1/2 x 5 1/2 inch square card base. The gorgeous patterned paper is from Pink Paislee C'est La Vie No. 4
I used the outline stamp from the Beautiful Day stamp set from Altenew and some Strathmore cold pressed watercolor paper to make my own patterned paper. I made a quick mask from some Post-It paper and some Fog ink from Simon Says Stamp to stamp the images without overlapping. 
I tore the edges off the stamped paper to give it a shabby chic kind of look. 
I used Frosty Red ink from Altenew for the first layer of the flower, Cotton Candy for the second layer and Coral Berry for the last. The first layer of the leaves were stamped in Frayed Leaf and the last in Forest Glades, both Altenew inks. I used a technique I was excited to try that I learned from Jennifer McGuire, called Faux Colored Embossing to give the last layer of the flower and leaves some dimension. After stamping that last layer, I just cleaned off my stamp and then stamped the same image with VersaMark and clear heat embossed the image. Easy peasy. 
The sentiment is from the Painted Greetings stamp set from Altenew. I white heat embossed the sentiment onto some Fog cardstock from Simon Says Stamp and gave it a quick shadow with a VersaMarker. 

Here's a quick list of products used for the card:
Altenew, Beautiful Day stamp set
Altenew, Painted Greetings stamp set
These lovely products are available at The Ink Road Shop.  Be sure to punch in the code MONICA10 to save 10% off your next order. Use anytime, as many times as you would like. Thanks so much for visiting today. I'll see you soon.

Friday, April 15, 2016

Upbeet Day

Hello there! I'm up on the Ink Road Blog with this colorful card today. Aren't those veggies adorable? Just looking at them all lined up and smiling makes me happy. Let's jump right in on how to make the card. 
The little pots where I "planted" the veggies are from the Stuck on You  stamp set from Lawn Fawn.
I used a ruler to line up the pots the best I could and stamped them with Avery Elle Fizz pigment ink. To give the pots a weathered look, I inked up the outside edge of the pot stamp with some Cosmic Copper Brilliance Dew Drop pigment ink from Tsukineko. 
I stamped the pots onto a Post-It note and cut them out to make masks. The adorable veggies are from the Rooting for You stamp set from Lawn Fawn. I stamped the turnip with Buttercream and Soft Lilac inks from Altenew. The carrots are stamped in Sunkist ink from Simon Says Stamp and Caramel Toffee from Altenew. The beet is stamped in Lavender ink from SSS and Orchid ink from Ranger. The little radish is stamped in Coral Berry ink from Altenew. The light green is Frayed Leaf and the darker green is Forrest Glades from Altenew. The watering can is stamped in Fog ink from SSS and I inked up the outside edge of the watering can with Platinum Planet Brilliance Dew Drop from Tsukineko. The water pouring from the watering can is stamped in Scuba ink from SSS. 
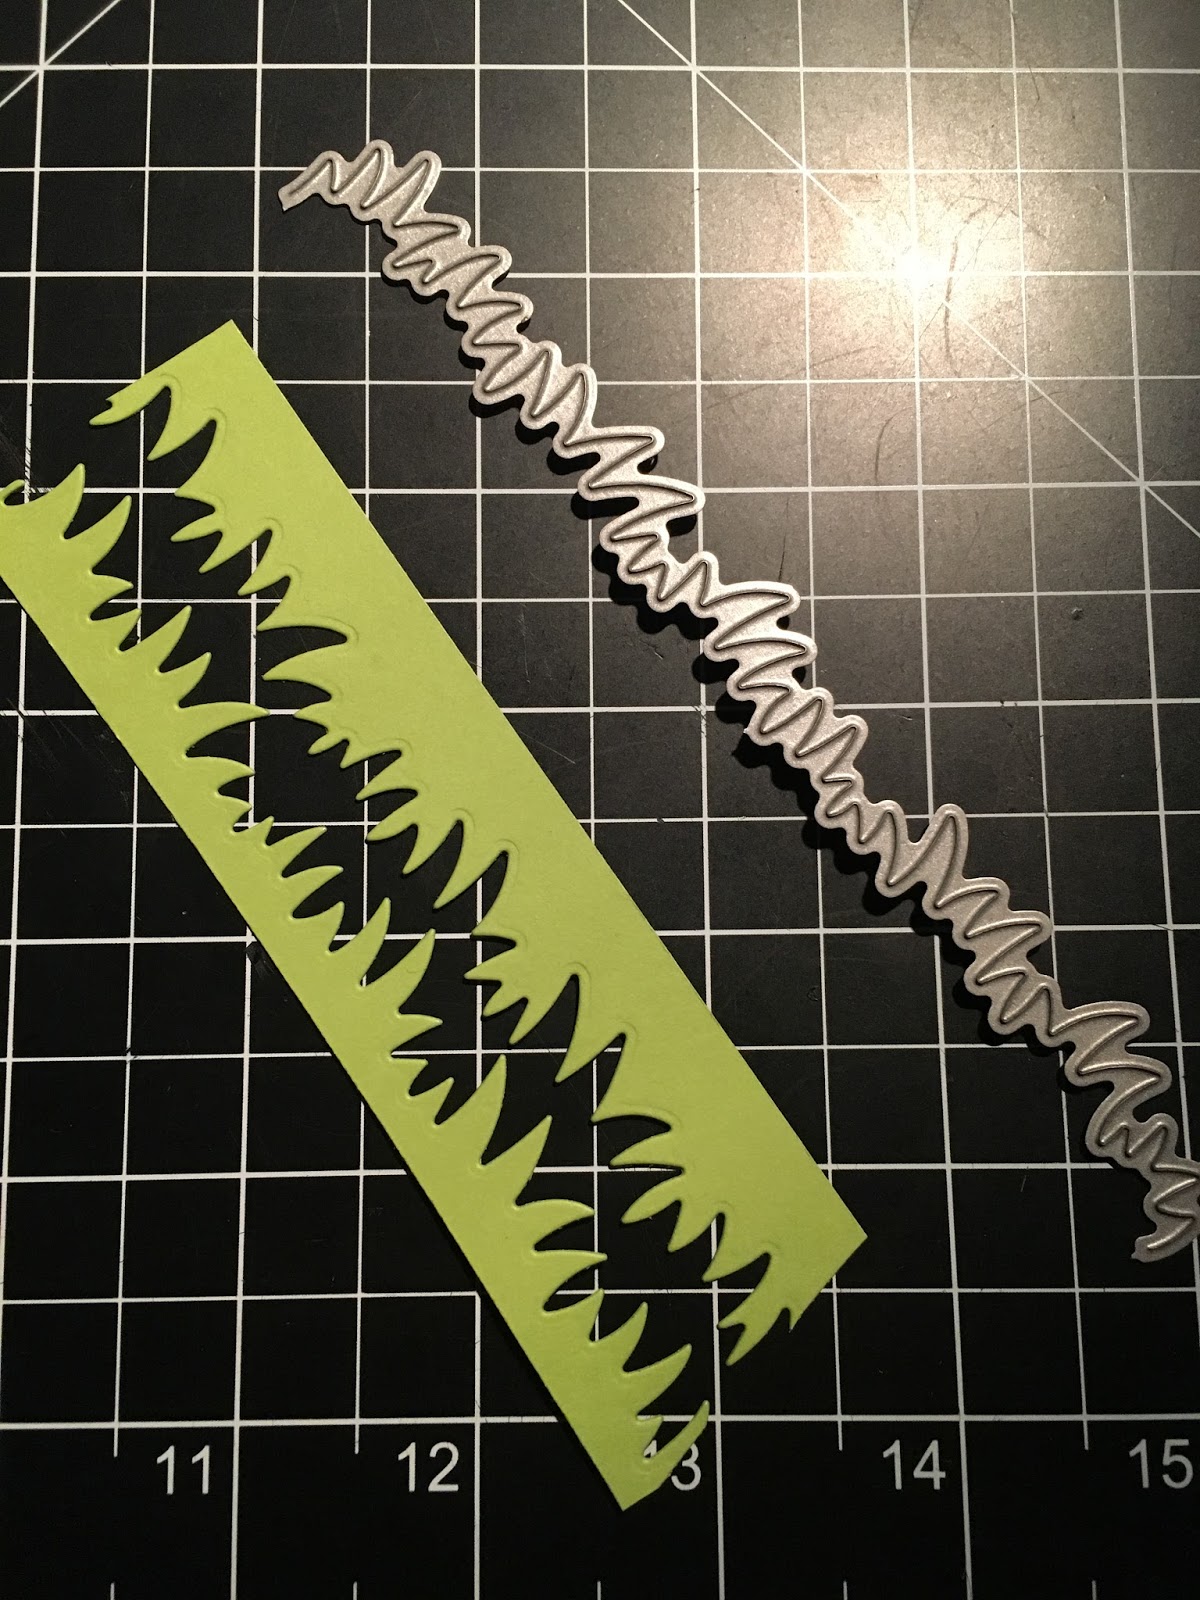
I die cut some grass using some scrap cardstock and the Grassy Fields die. I ended up flipping the taller piece around and using it as another layer of grass. After the two layers of grass were adhered, I used my craft pick to bend up the blades of grass for some dimension. I white heat embossed the sentiment onto some kraft cardstock and popped it up with a bit of foam tape.The wood panel patterned paper is from Pink Paislee, C'est La Vie Collection #9. I finished the card with a little string of natural twine from May Arts. 

Here's a quick list of products used for the card:
Lawn Fawn, Stuck on You stamp set
Lawn Fawn, Rooting for You stamp set
Pink Paislee, C'est La Vie Collection #9 patterned paper

These lovely products are available at The Ink Road Shop.  Be sure to punch in the code MONICA10 to save 10% off your next order. Use anytime, as many times as you would like. Thanks so much for visiting today. I'll see you soon.

Friday, April 8, 2016

Heart of Gold

Hello there! I'm up on the Ink Road Blog again with this fun shaker card. Let's take a look. 
Shaker cards are so much fun to make and especially fun to send. Let's get right in to how I put this card together. 
I started with some Tim Holtz Distress inks in Dried Marigold, Spiced Marmalade, and Picked Raspberry. I tried to match the gorgeous Sunset Shimmer sequin mix from Neat and Tangled. I used the Heart of Gold Die from Neat and Tangled to cut a heart into the color blended panel and once again out of some gold glittered cardstock and removed the triangle pieces from the gold heart. I went around the back side of the heart (of the blended panel) with some Scor-Tape and adhered a piece of acetate to make the shaker window. 
I die cut the blended panel using Avery Elle's Wonky Stitches die for more of a finished look. I doubled up my foam tape and cut it in half to make (roughly) 1/4 strips to go around the heart and around the perimeter of the blended panel. 
I flipped the blended panel over and carefully glued the gold glittered die cut heart onto the acetate. I flipped the panel back over and put the sequins in. I hold the panel up so I can see if I'm happy with how they look inside the window and to see if I have enough sequins before I adhere the panel onto the card base. I piled the sequins onto the card base and then adhered the panel over them. I used the Heart of Gold stamp set from Neat and Tangled for the sentiment. I masked off the word gold with a Post-it note and gold heat embossed the word "gold" afterward. I used the Distress Inks to match my blending onto the edge of the sentiment strip. I ran the edge of the sentiment panel through the Wonky Stitches die to bring the card together and cut a strip of that gold glittered cardstock for a peek-a-boo of bling. 

Here's a quick list of some products I used for the card:
Neat & Tangled, Heart of Gold Die
Neat & Tangled, Heart of Gold stamp set
Neat & Tangled, Sunset Shimmer Sequin Mix

These lovely products are available at The Ink Road Shop.  Be sure to punch in the code MONICA10 to save 10% off your next order. Use anytime, as many times as you would like. Thanks so much for visiting today. I'll see you soon.

Friday, April 1, 2016

Unicorn Daydream

Hello there! I'm up on the Ink Road Blog again with this fun, magical card today. Let's go have a look. 
I gold heat embossed the unicorn from the Be a Unicorn stamp set from Avery Elle. The rainbows are heat embossed with white embossing powder and all are embossed onto Strathmore cold pressed watercolor paper. I used Tsukineko Gansai Tambi watercolors to bring the images to life. I used the matching Be a Unicorn Dies to die cut the images and set them aside. 
I used the Lawn Fawn Stitched Rectangle Dies to create a frame for the card. I used the Chevron Gold vellum paper from Pinkfresh Studio to go inside the frame and add some beautiful bling. 
I arranged the unicorn and rainbows on the front of the card and carefully slid a glue dot under the pieces that would stay on the outside of the frame. I gently flipped the frame and die cut pieces over and added foam tape to the pieces that I wanted to give dimension to. I gold heat embossed the Don't. Ever. Quit Your Daydream sentiment from the Good Sayings stamp set from Pinkfresh Studio and used some scrap blue cardstock to mat the sentiment. 

Here's a quick list of some products used for this card:
These lovely products are available at The Ink Road Shop.  Be sure to punch in the code MONICA10 to save 10% off your next order. Use anytime, as many times as you would like. Thanks so much for visiting today. I'll see you soon.

Friday, March 18, 2016

Typewriter Hugs

Hi there! I'm up on the Ink Road Blog again with this fun all occasion card. Let's take a look.
The beautiful typewriter patterned paper is from My Mind's Eye My Story collection. I die cut a rounded slant from the panel with the dies from Simon Says Stamp called Stitched Slopes & Hills.
I gold heat embossed the glasses from the Clear To See stamp set from Lawn Fawn onto some patterned paper from Heidi Swapp, To fill in some negative space, I used the tiny heart stamp from the Winter Alpaca stamp set from Lawn Fawn and some Dew Drop Galaxy Gold pigment ink. 
I decided to make my own gold dipped faux chipboard for the sentiment. I die cut the sentiment using the Scripty Hugs die from Lawn Fawn 5 times from scrap cardstock and glued them together. 
I masked off the top part of the sentiment with some Post-It tape and smooshed the bottom part into the Versamark Ink pad. I sprinkled the gold embossing powder and heat set it before removing the Post-It tape. Voila, my very own gold dipped faux chipboard sentiment! I ended up toning down the gold glasses panel with a layer of vellum because it was too busy. I finished the card with some May Arts natural twine and some foam tape behind the panel for some dimension.

Here's a quick list of some products used for this card:
My Mind's Eye, My Story patterned paper
These gorgeous products are available at The Ink Road Shop. Don't forget to use the code MONICA10 for 10% off your orders. Use anytime, as many times as you would like. Thank you so much for stopping by today. I'll see you soon. 

Friday, March 11, 2016

Monster Card Set

Hello there! I'm up on the Ink Road Blog with this fun card set today. I'm always making birthday cards so I thought it would be nice to make a card set to give as a gift. Here's a look at the set. 


Aren't those monsters the cutest? Their little faces are so adorable! Now let me show you how I made the cards.
I used some Ranger Alcohol ink in Pool and an an inexpensive brush from Michaels. You can use whatever you have around, watercolors would work just as well. Just a quick tip, to clean my little paint dish and paintbrush I just used a little rubbing alcohol. I die cut the panel using Lawn Fawn Stitched Rectangles dies for a finished look. Let's move on to the next step.
I stamped the monsters using the Monster Love stamp set from Mommy Lhey in Memento Tuxedo Black ink. I did some quick Copic coloring, the color combos are listed above. You can use whatever markers, colored pencils or watercolors you have available. I cut the monsters out and set them aside. I die cut a circle using Lawn Fawn Stitched Circles dies in 3 1/2 inch size. The polka dots are from a background stamp from Inkadinkadoo and Hero Arts Ombre ink pad Grey to Black

I used the Birthday Tags stamp set from Lawn Fawn for the sentiment and silver heat embossed it onto some vellum. I used the matching dies from Lawn Fawn, called Tag, You're It to cut the vellum. I cut some patterned paper from Pebbles, Cottage Living collection from  Jen Hadfield to go behind the vellum using the same Lawn Fawn die. Here's a fun tip. I trace the back side of the embossed sentiment with some Quickie Glue so your adhesive doesn't show, you get a clean look and your tag stays in place. 

Here's a list of some products used for this card set:
Lawn Fawn Stitched Rectangles Dies
Mommy Lhey, Monster Love

These amazing products are available at The Ink Road Shop. Don't forget to use the code MONICA10 for 10% off your orders. Use anytime, as many times as you would like. Thanks so much for visiting today. I'll see you soon.